I thought I would share my method of construction. The basic construction is the same for everything, it's just the materials and the application that occasionally differ.
1. First off there is the broken ground on a cd base as mentioned on the post before last.

Simply done.
A) Scratch a cd base with some glass paper to increase the adhesion.
B) Using some propriety adhesive such as Hard as Nails or Sticks like S**T, glue various sized stones on the base.
C) Fill in the gaps around the bottoms of the stones with filler.
D) At this point you can stick down some home made tufty things (as outlined earlier in the blog).
E) Cover with wood glue and sand, then paint.
2. Next the small wood. For this I used twigs cut from the last of the seasons hedge trimmings as the trunks.
A) Glue some random stones down as outlined above and, using a contact adhesive such as Evostick or UHU, stick down the trunks in a previously arranged dry run. Put glue on both surfaces and leave it to go tacky before pushing the two together otherwise you will have to prop up the trunks so that they don't fall over.

B) Once the glue has dried thoroughly slop some Hard as Nails all around the bottom of the trunks as another layer of adhesion. Once this is solid then add the filler; a further covering around the trunk bases, gap filling on the stones and some random lumps to break up the flatness of the base.

C) Once that has dried cover with wood glue and sand.

D) I now paint all my bases in exactly the same way with the same colours. First off is a coat of a mid earth brown -mixed at Homebase- followed by areas of a wash of burnt umber.

E) This is followed with dry brushed Antique Gold and then Cream, both acrylics from Anita paints. Attach some patches of flock and shrubs and the base is finished.

F) In the summer I saw some dyed sisal used by people who make their own hanging baskets and thought it may work for tree canopy. If it worked then at £4.99 for a big bag it should make about 20-30 trees -cheap as chips. The 'branches' of the twigs are now coated in contact adhesive and clumps of the stuff are glued on. Trim off any errant string and that's it.

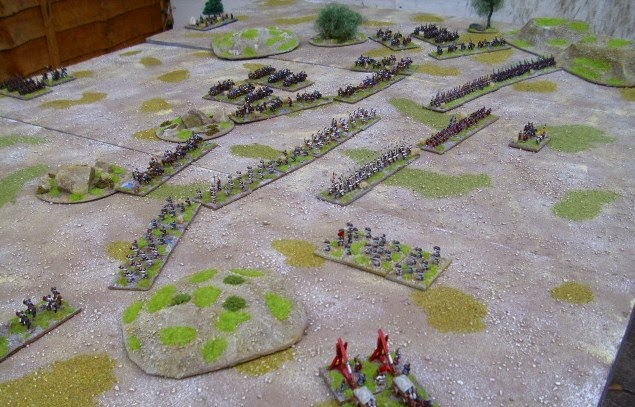
The figures have been included for scale. They are the small diorama of some 15mm Sassanid levy preparing to defend themselves against an enemy threat.

There are four layers of gunk around each of the trre trunks so that should hold them securely in place. The only thing with these is that you have to wait for each layer of gunk to dry before you can slap on the next. But I think it's worth it.
Another method I thought of was using pipe cleaners for tree trunks. This method involved twisting three or four together, leaving about an inch at the bottom to splay out for the 'roots' and make them as tall as you like. Glue the roots using a hot glue gun to a piece of thick card or one of those custom made circular bases. I have added a couple of small stones for a bit of added weight.
(In the background you can see the next unit of levy half done as well as some more undercoated Hunnic Mongols.)

Paint the trunk with a reasonably thin mix of wood glue, filler and water and when dry paint and add the foliage.

Keep yer bristles moist.
Mick
No comments:
Post a Comment